Cyber Hobby 1/35 scale
Synopsis
The Schwere Ladungstrager (Sd.Kfz. 301) Ausf. A, B and C, manufactured by Borgward, were tracked demolition charge laying vehicles designed to destroy minefields, fortifications, and pillboxes. The vehicle was driven manually close to its target and then remotely controlled by radio until properly positioned to deposit the separate explosive charge case carried in the bow. The vehicle did not carry a standard explosive charge. Instead, Combat Engineers packed the charge cases with enough explosives to demolish specific targets.
The vehicle was steered with handle bars rather than a steering wheel, and the driver’s compartment featured fold up armor plates to provide the driver some protection. A hull escape hatch was also provided that enabled the driver to exit the vehicle more safely from the side when under enemy fire.
Over its production run, 616 Ausf A models were manufactured from May 1943 to June 1943, 260 Ausf. B models were manufactured from July to November 1943, and 305 Ausf. C models manufactured from December 1943 to September 1944.
These vehicles were issued to Heer Panzerkompanien (Funklenk) 311, 312, 313, and 314 and Panzerabeilungen (Funklenk) 301 and 302 and successfully deployed on North African, Russian, and Western Front battlefields.
Background
Inspired by the modeling skills of my Father and Uncles, I have been an avid scale modeler most of my life.
In recent years, I have tended to focus on 1/35 scale armor and figures. Like many, I enjoy the wide range of subject material available for modeling World War II German armor and the ability to use artistic license in painting camouflage schemes due to the myriad methods and materials used by the German’s to camouflage their vehicles.
In my closet, Dragon’s No. 6101 Borgward IV Ausf A Demolition Vehicle kit is a well aged Shelf Queen. I completed most of the kit years ago, but was unhappy with the results. Since the vehicle in 1/35 scale is similar in size to a 1/72 scale medium tank, the suspension and the two-piece single link tracks were particularly troublesome (tweezer launch, excess glue, etc.).
Upon learning Cyber Hobby released a 1/35 scale 2-in-1 Pz.Kpfw. III Ausf. J Command Tank and Borgward IV Ausf. B kit, I decided to have another go at adding the diminutive remote control demolition vehicle to my armor collection.
The Kit
Research revealed that the Cyber Hobby No. 6510 Pz.Kfw. III Ausf. J Command Tank is simply a repackaging of Dragon’s outstanding No. 6394 Pz.Kpfw. III Ausf J Smart Kit with an additional small sprue of armored radio control box parts to take the place of the normal Pz.Kfw. III turret’s rear storage box.
The kit’s Borgward IV Ausf. B, however, is a completely re-tooled version of the Dragon No. 6101 Borgward IV Ausf A kit. The previous kit already provided a rudimentary cockpit interior and a separate explosive charge case for the bow. The re-tooled version now includes the driver’s hull escape hatch and mercifully comes with Dragon’s one-piece DS plastic tracks.
Assembly
The Cyber Hobby 6510 instruction sheet outlines a pretty straight forward 14 step process to assemble the Borgward IV B.
Construction starts with fabricating the hull (Steps 1 – 4) which is comprised of separate floor (Z4), side (Z1 & 2), rear (Z33), and roof panels (Z3). At this time, the driver’s seat (Z15) and instrument panel/handle bar assembly (Z20) can be left out and installed after painting.
The fire wall (Z34) is an open panel situated to the left of the driver’s seat (Z15). Since you can see right through it, and it is very visible in the open driver’s compartment, I opted to install an engine before adding the roof (Z3).
Extra care is needed in Step 5 to ensure the explosive charge case swing arms (Z13 & 14) are properly captured between the bow and side plates (Z8 and Z1 & 2).
Study the instructions carefully and make sure you dry fit the suspension components (Step 9 – 11) before applying any glue.
Since they will be very visible, in Step 12 – 13, plan ahead how you intend to position the driver’s compartment folding armor plates (Z30, Z31 & Z32). If you don’t already have one, I strongly recommend getting one of Micro Mark’s Touch-n-Flow Glue Applicators. It proved to be an invaluable tool for this assembly.
Painting
Tamiya paints were used throughout, and the engine, exterior and interior were all pre-shaded with a coat of flat black (XF-1). Graphite was rubbed on the engine to create a greasy, worn look. The interior panel centers received a thin coat of red oxide (XF-9 & XF-52) to produce shadows in the corners.
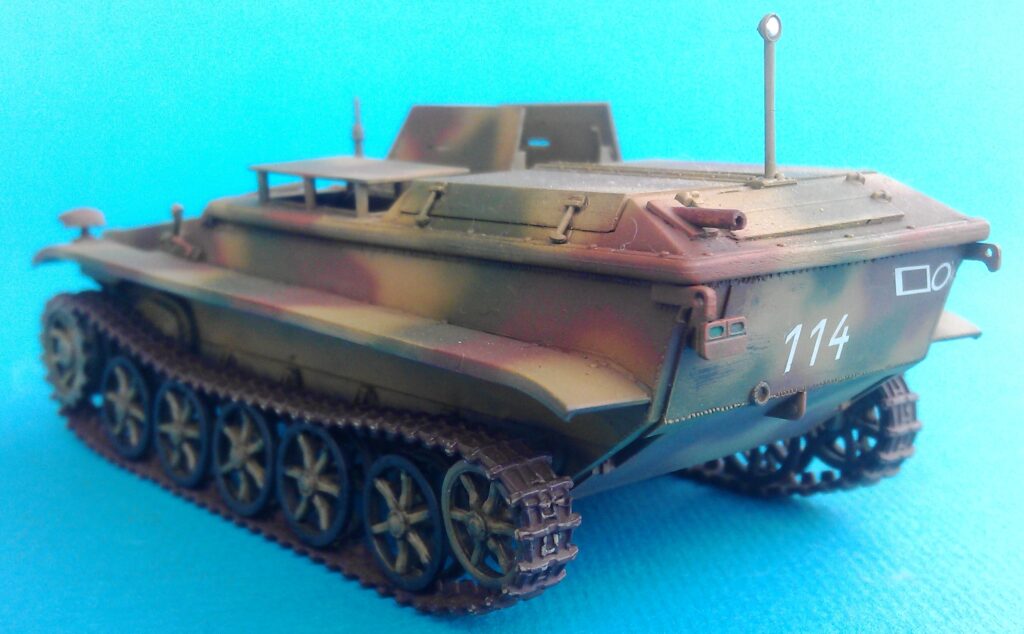
I used a tri-tone camouflage scheme (Green – XF-58/XF-59, Yellow – XF-59/XF-60, Red Brown – XF-64) to portray a 316 Funklenk-Panzerkompanie vehicle tasked with exploding the minefields in the path of the Ferdinands of 2.Abteilung/schwere Panzer Jager Regiment 656 at Kursk.
The model’s upper surfaces were then sprayed with a thinned (10:1) mixture of the base coat (XF-59/XF-60) to lightly fade and blend the camouflage colors.
Markings
There are no decals provided for the Borgward IV B in the 6510 kit, so I used the generic tactical marking and numbering decals provided in the Dragon No. 6101 Borgward IV Ausf A kit.
For the decals, Future was used to prevent ‘silvering” followed by an overspray of Vallejo 520 Matt Varnish.
Weathering
Multiple Burnt Umber oil paint pin washes were applied until I was satisfied with the results.
I decided to hold off final weathering until I prepared a small diorama base to ensure color continuity.
Conclusion
This Cyber Hobby kit is a much more enjoyable build than Dragon’s earlier 6101 Borgward IV Ausf A kit thanks to the DS tracks. If you enjoy building unusual or special purpose vehicles, this one is a real gem!
What will I do with the 2-in-1 kit’s remaining Panzer III Ausf. J? Why it just replaces the Dragon No. 6394 Pz.Kpfw. III Ausf J Smart Kit I sold on eBay!
Reference
Encyclopedia of German Tanks of WW II, P. Chamberlain & H. Doyle
Photos
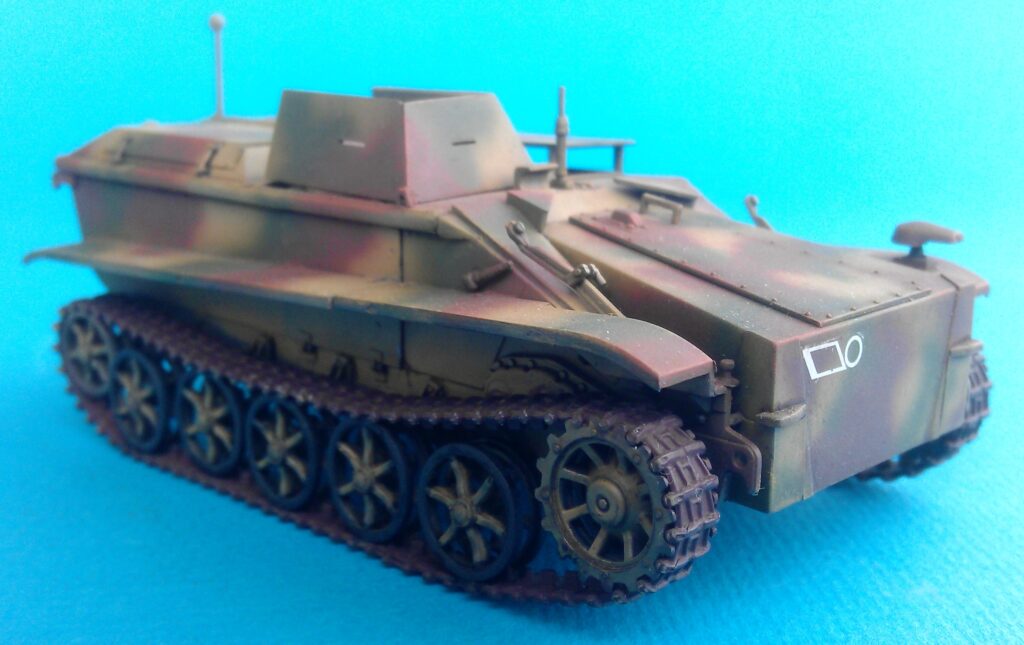
Picture 1 – The driver’s escape hatch is visible in the center of this shot of the vehicle’s right side
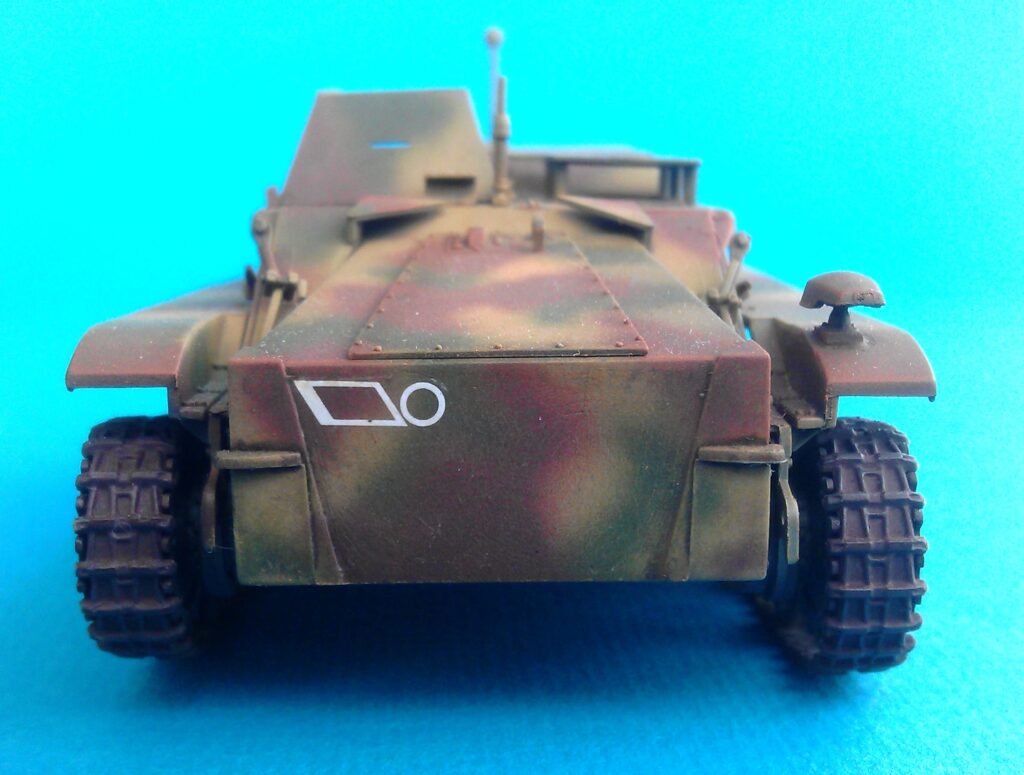
Picture 2 – The bow explosive charge case. It would be deposited at the target; the vehicle backed up a safe distance, and detonated remotely.
Picture 3 – 3/4 right rear
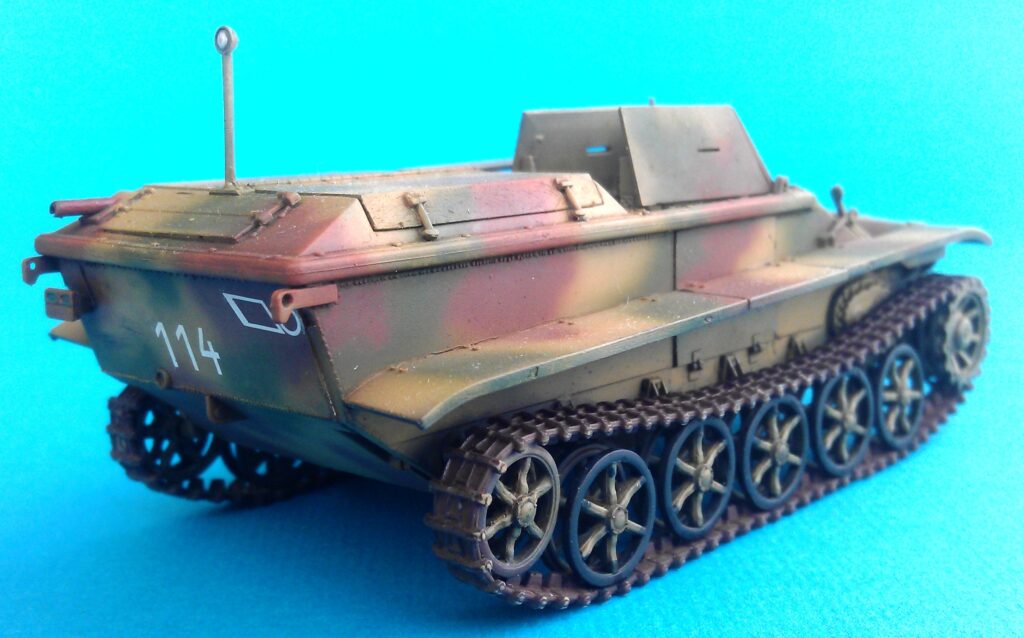
Picture 4 – Side view.
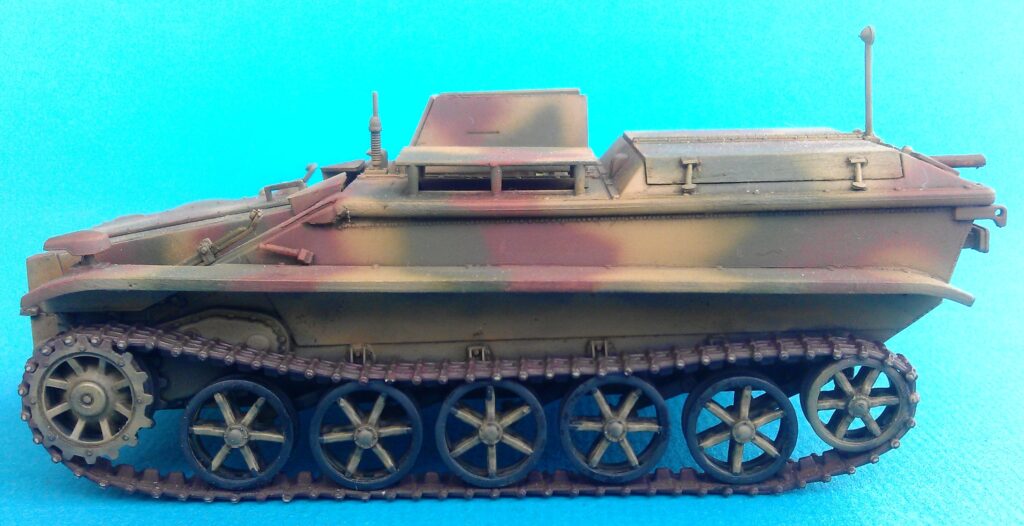
Picture 5 – 3/4 Left Rear
Originally published in “Boresight”, the AMPS Membership Magazine, Volume 19, Issue No. 2, a Special Issue in which the issue’s content was exclusively submitted by SoCal AMPS members.
